Personalisation Station
We recently launched our personalisation service, where you can create your very own diary refill, we didn't want to just stop there. You can now create the Clipbook of your dreams by customising the cover, the interior and can even add your own title. Let us walk you through how this new service works with our step-by-step guide.
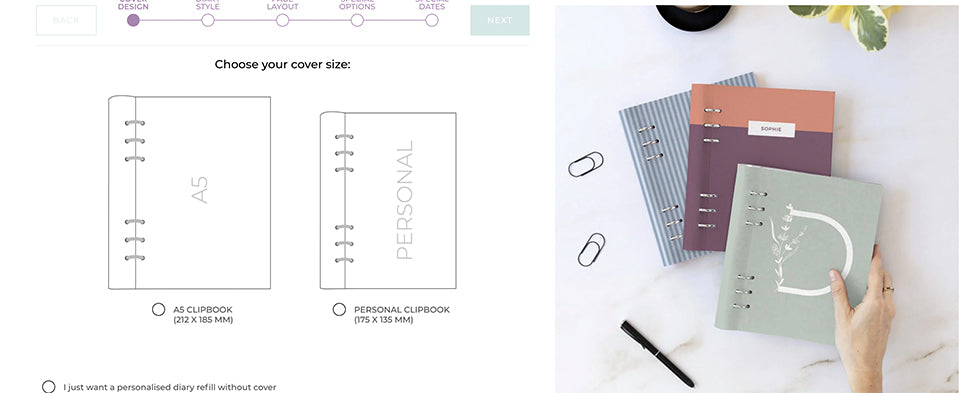
STEP 1 | CHOOSE YOUR COVER SIZE
If you lead a busy life and are always on the go then the Personal size cover is perfect for you! If you're more of a stay at home planner then the A5 size might be your ideal go-to for daily admin.
You may already have a beloved Clipbook or Organiser, if that is the case then you can just create a personalised diary refill without the cover.
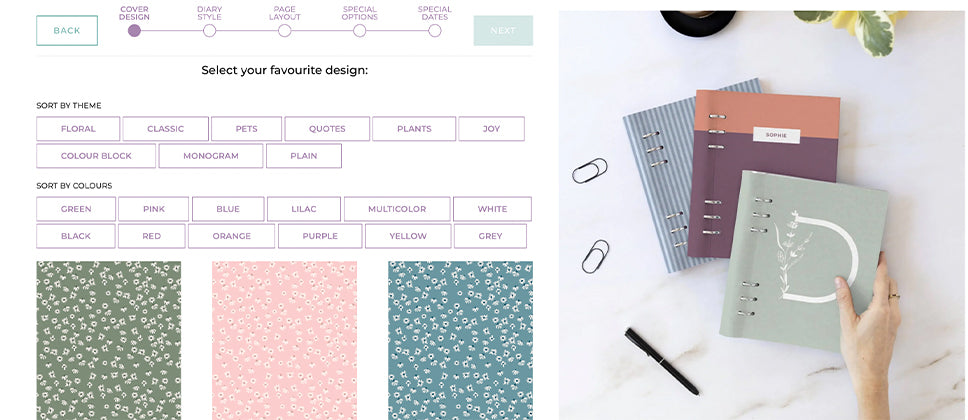
STEP 2 | SELECT YOUR FAVOURITE DESIGN
Take a look at our wide selection of stylish cover designs and choose between beautiful florals or adorable pet illustrations. If you prefer something more simple then we do also offer an array of covers in gorgeous colours with inspirational quotes. Whatever your style, we're certain we have the right cover for you.
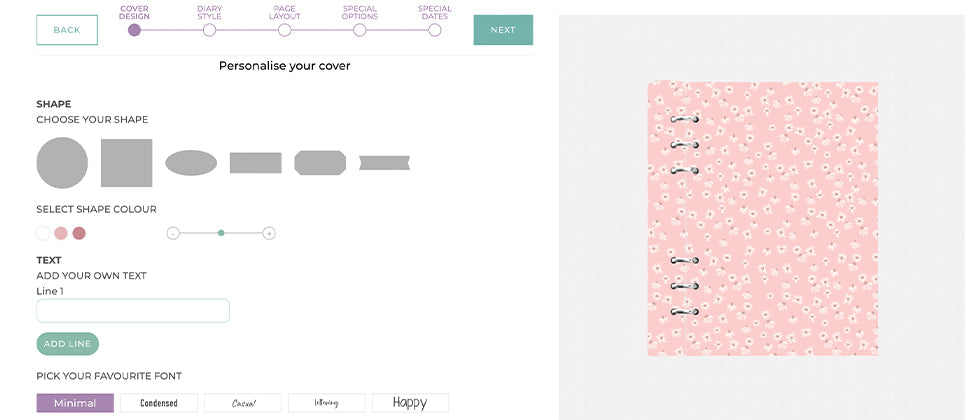
STEP 3 | PERSONALISE THE COVER
Truly make your diary your very own by adding a title to the cover, start by choosing a shape and colour for your name or subject name to be displayed in. You can even choose the font and colour of your title for that extra personal touch. Go one step further by making sure everything matches by selecting the interior colour of your Clipbook.
More reasons to love our personalisation service
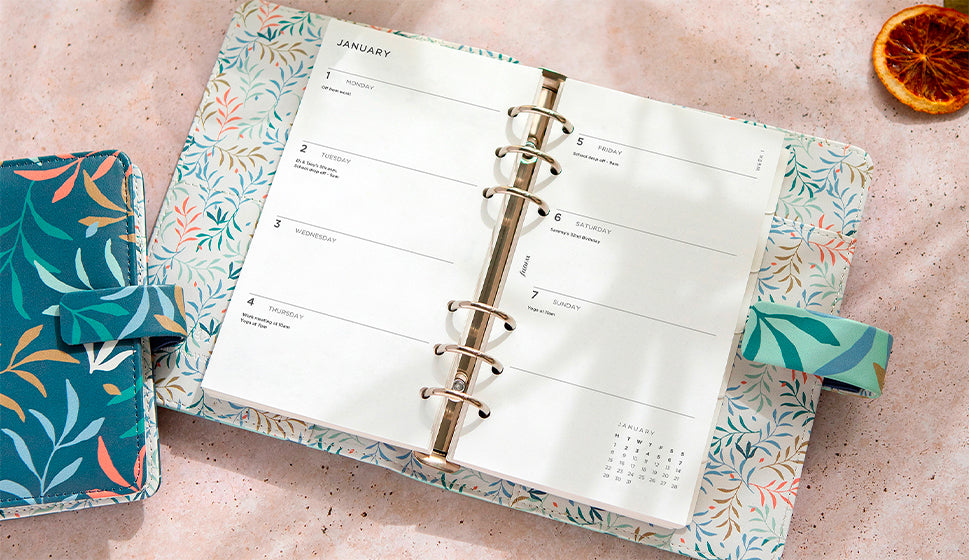
Now that you know all about customising your cover, it's time to find out below some of the amazing things you can add to your diary refill and if you would like even more information then check out our blog post.
- Select the refill style, layout and start month.
- Choose to start your week on a Monday or a Sunday.
- Fill in with birthdays, events or activities by frequency.
- Add any national holidays by country and religious holidays if desired.


 ORGANISERS BY SIZE
 ORGANISERS BY TYPE
 ORGANISERS BY PRICE


